
Punch Cutter Tutorial
Punch cutter tutorial
How to use a button making punch cutter
Follow the instructions below to learn how to use our punch cutters.
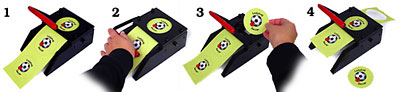
- Insert the paper strip into the punch cutter and center the graphic in the hole.
- Push the handle down until the punch goes all the way through the paper.
- Remove the cut graphic and place it to the side.
- Pull the paper strip through, center the next graphic, and repeat steps 2 and 3.
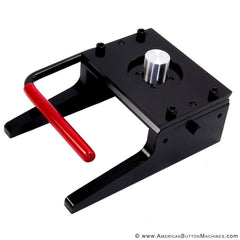
Note
No special paper is required to make a pinback button. Simply cut regular printer paper into strips.
Watch the video tutorial
See the punch cutter in action on the American Button Machines YouTube channel (opens in a new tab)
What makes our punch cutters so great?
- The all metal construction means there are no plastic parts to break.
- The entire circumference of the paper circle is punched at once for speed and accuracy.
- The large center hole gives a clear view for easily centering the cut.
- Our punch cutter requires very little physical force to operate.
- Compact and lightweight, our punch cutters include our lifetime warranty against defects.
Purchase a button making punch cutter
See all circle cutters for button makers or contact us with questions.